
A clean and reliable onboard air system is one of the best upgrades for any off-road vehicle.
Whether you’re airing up tires, running air lockers, or using pneumatic tools, having a air hose reel that’s easy to pull out and retract saves time and eliminates frustration.
In this guide, we will show you how to install our compact air hose reel on a 4×4 – the same style used in the professional setups of LC71, Jeep, Ranger, Hilux and other onshore RIGS.
Why add a hose reel to your off-road air system?
Most off-roader vehicles start with a basic air compressor and a loose hose. It works, but:
- You waste your time packing and unpacking
- The hose easily tangles
- Storage space occupation
- Dirty and mud will soon get into the line
A compact hose reel solves all of that:
- Compact size(15x18cm) to mount almost anywhere
- It keeps everything clean
- Fast pull-out, smooth airflow
- Much more professional and reliable for trail use
If you are already running an ARB/VIAIR compressor or aftermarket air tank, our compact air hose reel is one of the best upgrades you can make.
What is needed before installation
- Compact air hose reel (manual or retractable)
- Connect hose (one for air compressor, one for air tank)
- Air compressor or air tank outlet
- Mounting brackets or roll cage clamps
- Basic tools (Allen keys, spanner, drill if needed)
If you use our GEOLAND compact air hose reel, it includes all standard accessories and installation hardware.
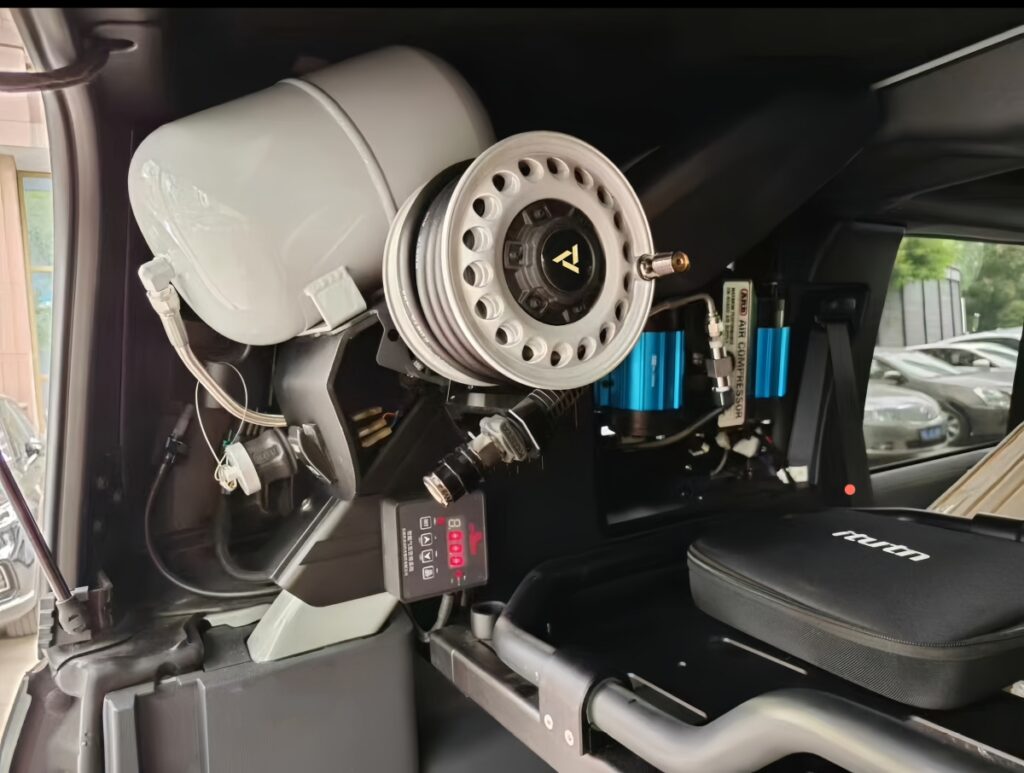
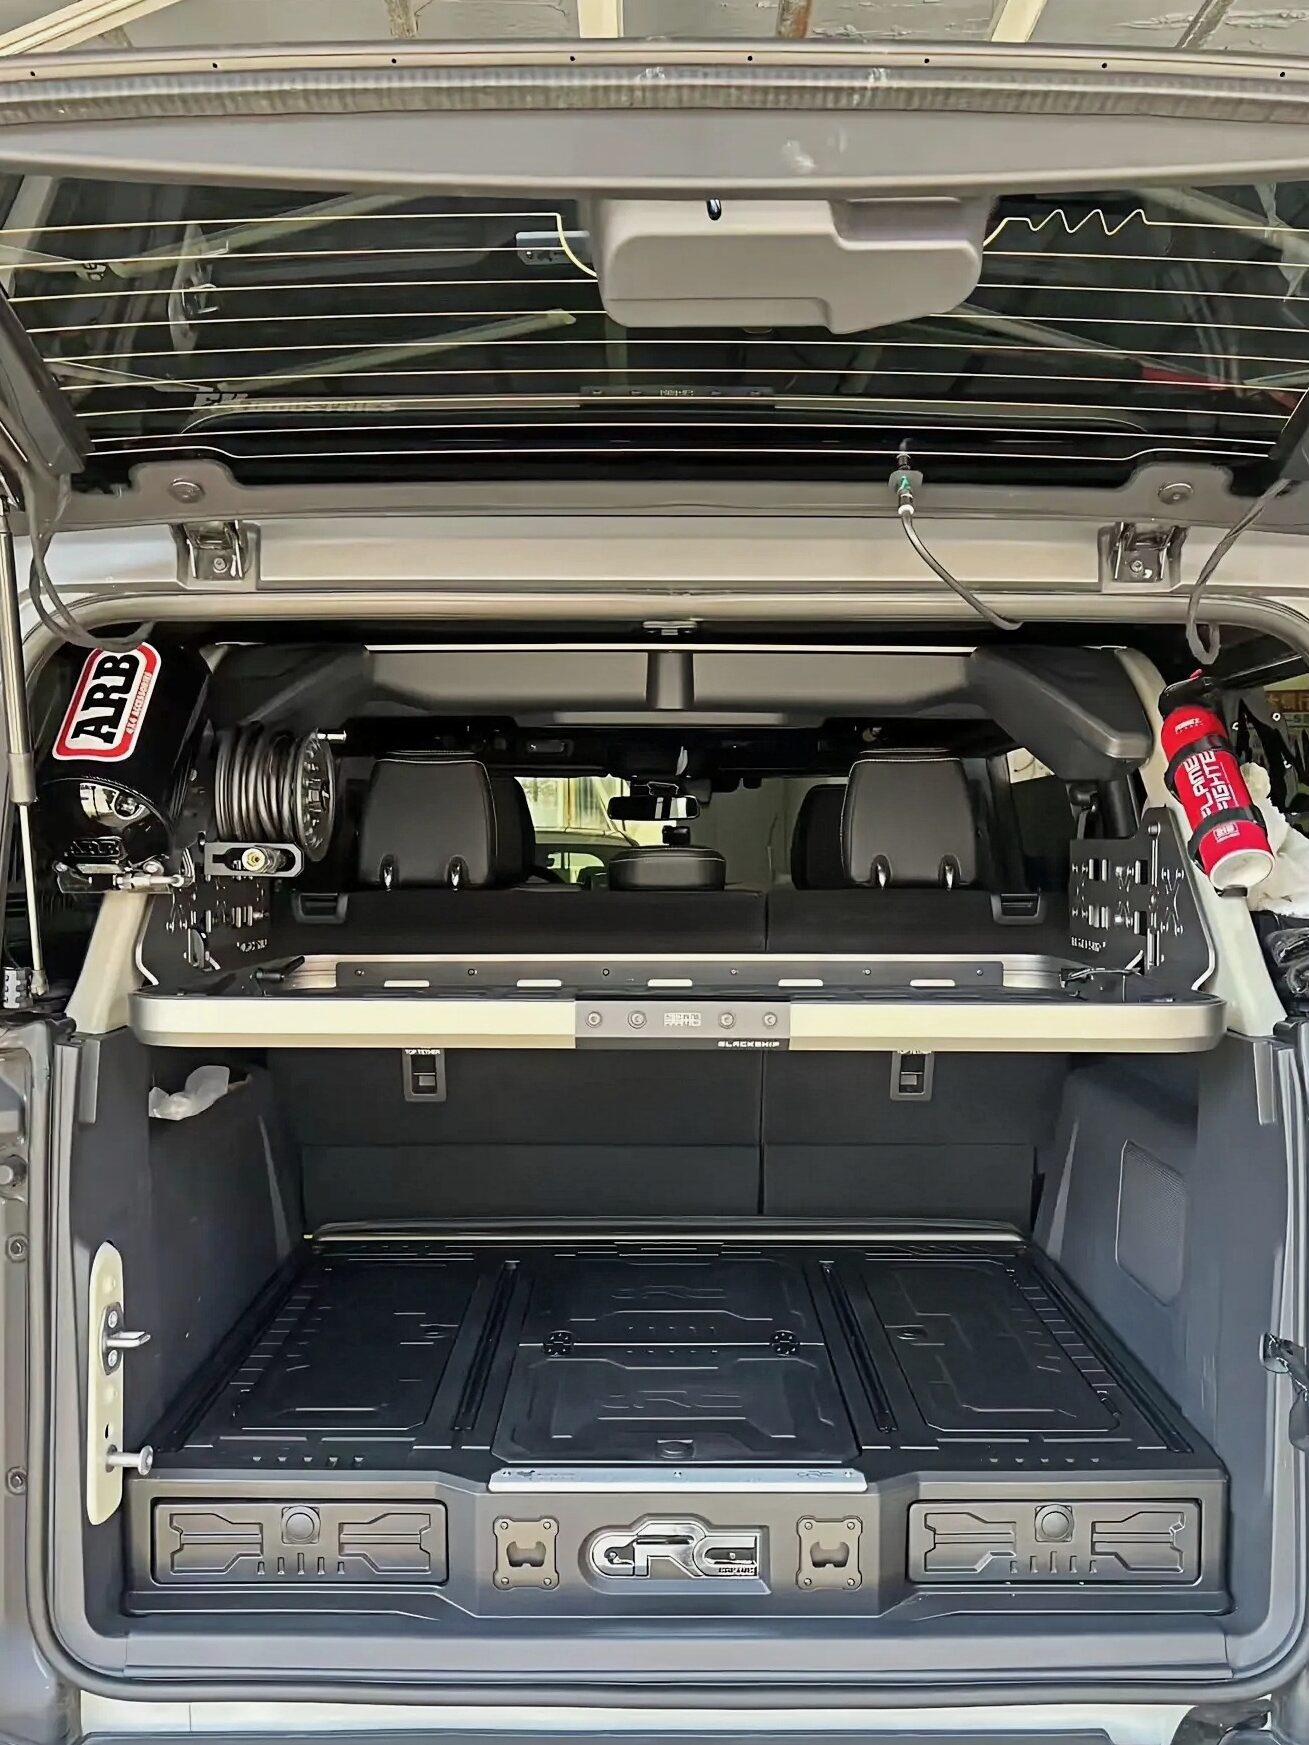
Where to Mount the Air Hose Reel on Your Vehicle.
- 1, Rear cargo area roll cage / MOLLE panel
- Ideal for Bronco, Jeep Wrangler, Jimny and other 4x4s.
- Easy to access, protected, and close to air tanks or compressors.
- 2, Inside the rear quarter panel
- 3, Cargo drawer side panel
- 4,Onboard air tank bracket
- 5, Under-hood ( if space allows)
- 6, Roof Rack / Roof Platform (Great for vehicles with limited interior space. Mounting the reel on a roof rack crossbar or side rail)
- Perfect for vehicles with compressors mounted in roof racks
- Pickup Truck Bed Rack / Chase Rack
Step-by-Step Installation Guide
Step 1 – Position the reel
Hold the reel in your chosen location and check hose movement, clearance and mounting points.
Step 2 — Install the bracket / mount
Fix the installation bracket with M6 or M8 bolts. Make sure the reel is firm – the reel will be pulled frequently.
Step 3 – Connect the air inlet
Use a hose connect to link air compressor/ air tank.
Step 4 – Connect your air system outlet
Attach your quick-connect coupler to the reel’s outlet.
Now you’re ready to plug in your tire inflator or tools.
Step 5 – Test the reel
- Pull the hose fully
- Check airflow
- Retract it to ensure smooth return
- Verify no air leaks
If you’re using our retractable model, it should return smoothly even after long pulls.
Common Installation Mistakes (And How to Avoid Them)
Mounting the reel too close to the sharp edges
→ Use spacers or move the position slightly.
Placing the reel where mud or tire spray hits it
→ Keep it inside cargo area or protected.
Tight bends in the inlet hose
→ Causes airflow restriction.
Why Off-Roaders Choose the GEOLAND Compact Reel
Our reel is designed specifically for off-road and 4×4 air systems:
- Aluminium housing
- UV-resistant EPDM hose
- Compact size for small cargo spaces
- 100,000+ pull-and-retract durability tested
- Compatible with ARB, VIAIR, TJM and most onboard air systems
- Available in manual or automatic retraction
Its size makes it easy to mount anywhere, and the durability makes it trail-proof.
Conclusion
nstalling a compact air hose reel is one of the simplest ways to upgrade your off-road air system.
It keeps your setup clean, professional and fast to use — exactly what you want after hours on the trail.
If you’re ready to build a cleaner, stronger, more reliable air system for your rig, check out our hose reel collection below: